 Canada - EN
 USA - EN
-
Features + Benefits
Features + Benefits
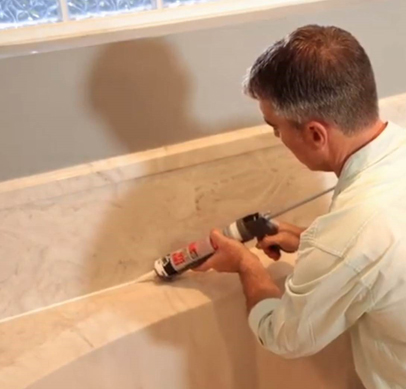
![Kwik Seal Ultra Video Thumbnail]()
-

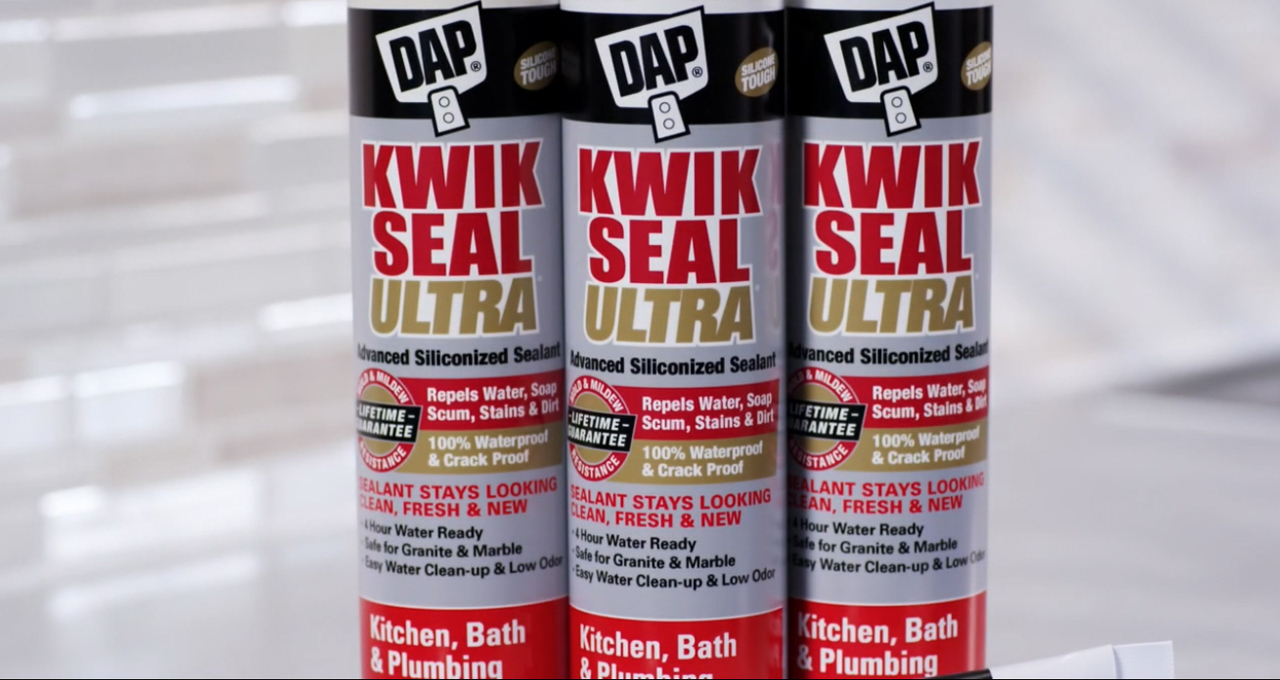
Innovative Ultra Hydrophobic Technology
-
Repels Water, Dirt & Soap Scum
-
Stain Proof Protection
-
Lifetime Mold & Mildew Resistance Guarantee
-
-
Usage
Uses + Applications
Lifetime Mold and Mildew Resistance Guarantee
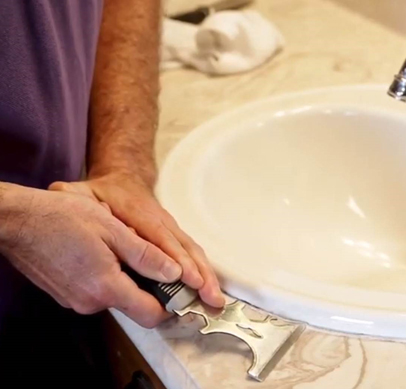
How to Remove Caulk from a Shower, Sink, or Bathtub
Before applying caulk or sealant to any area of your house, first prepare the surface.
Learn More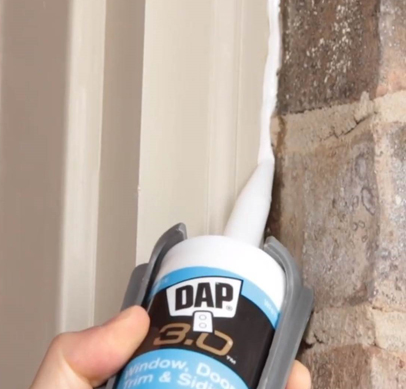
How to Choose the Right Caulk
Are you not sure what caulk or sealant is right for your project? With so many choices, it can be confusing.
Learn More -
Products
Kwik Seal Products
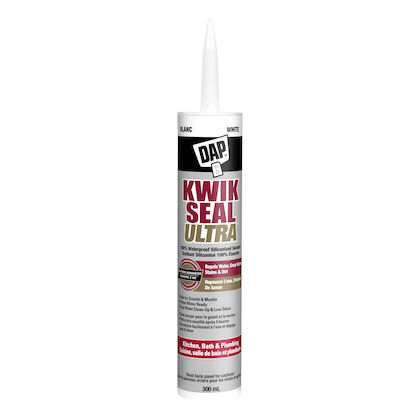
KWIK SEAL ULTRA® ADVANCED KITCHEN & BATH SEALANT
Advanced sealant formulated with innovative ultra-hydrophobic technology that repels water, dirt and stains and offers a lifetime mold and mildew.
VIEW PRODUCT -
Tips
Helpful Tips

Resources + Support
person
Customer Support
Our team of highly trained customer support staff is here to help with either product or project advice.
Contact Us